Sunday, August 4, 2013

The .013's


so, i've completed the project with 
elixir's nanoweb 0.13 gauge strings.


keep in mind that i haven't played for a year or more!
this was recorded with a phone, so the quality is mediocre,
but it sounded good and he was happy with the results.


so, the project is complete.
(^.^)

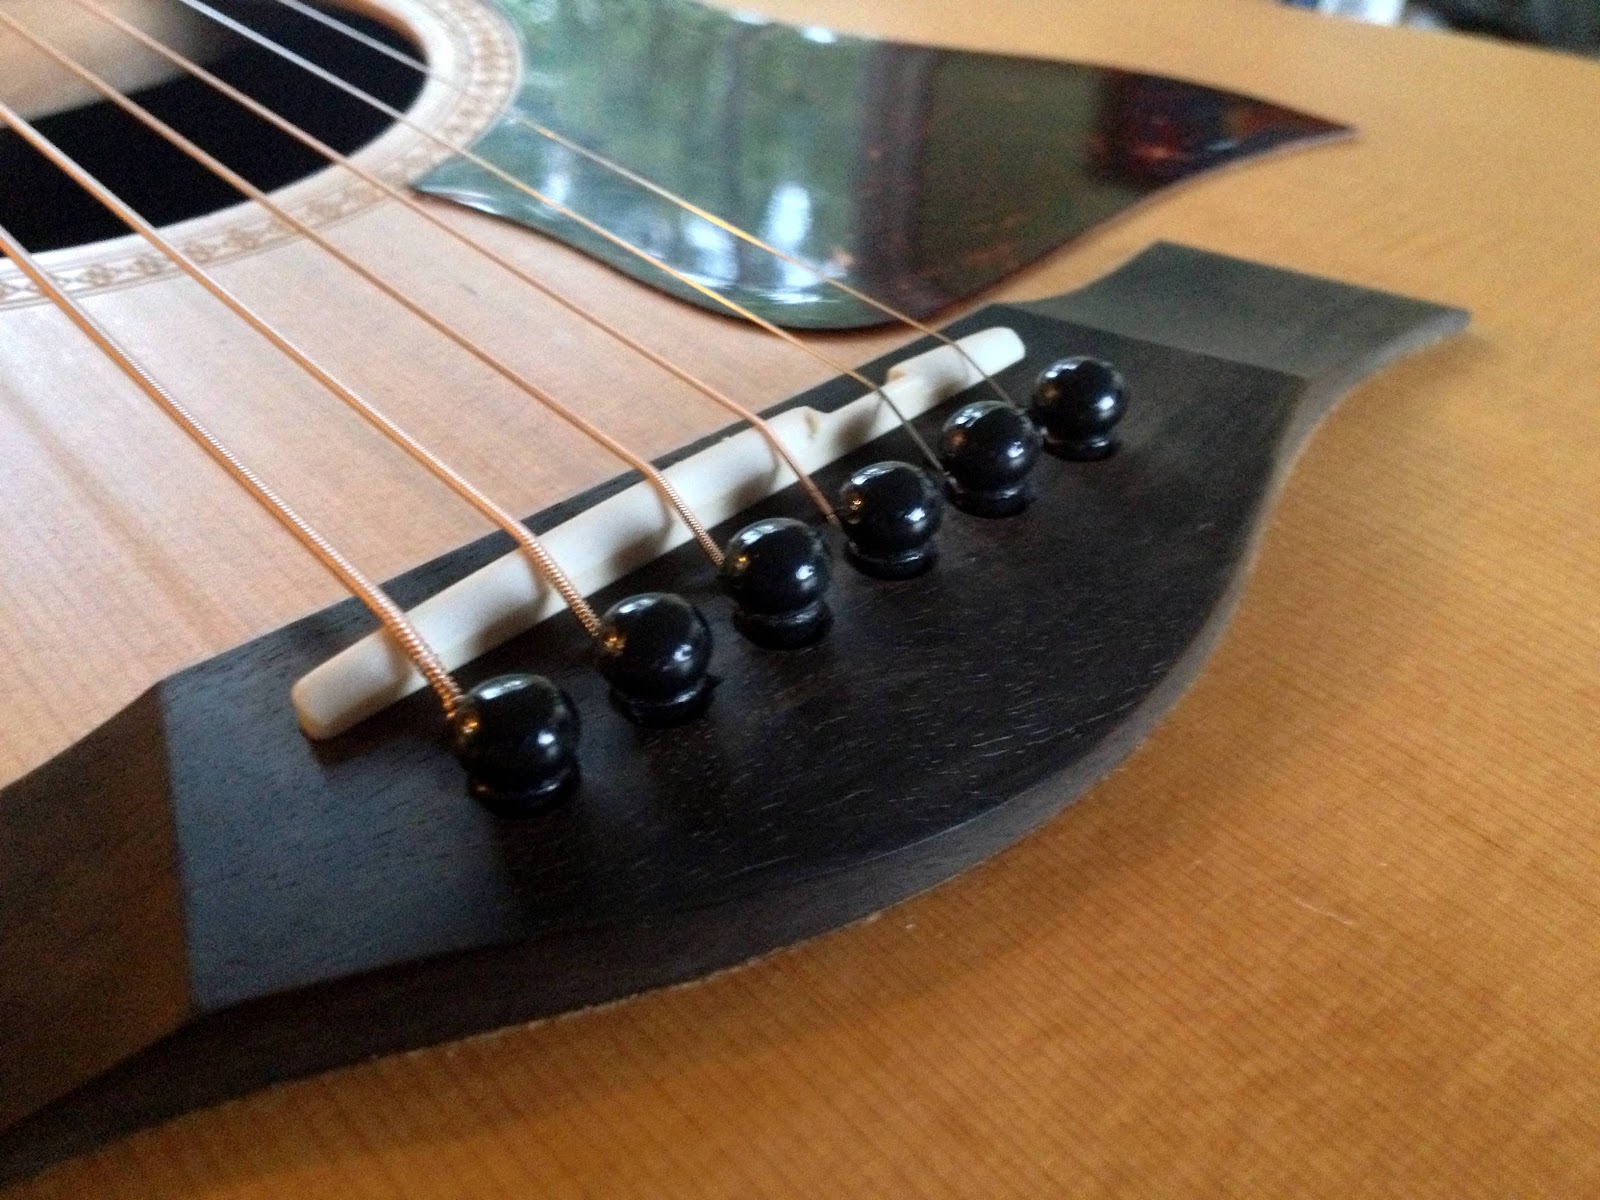
Saddle height adjustment


i filed off the top of the existing saddle
as there was enough meat and reshaped the pitch
to original design. after that, i shaved off
some of the saddle as it sat way too high.
you can see how low it sits if you look at how close the 
end tips of the saddle seat in the bridge.


the action now sits at 3/16", which is pretty sweet for 
.013 gauge strings.


The split


i have glued the split in the guitar top and 
have it under minimal pressure as it needs to 
sit 24-hrs and this step will be 
particularly beneficial to the guitar as 
we're installing 13-gauge strings on it.

now that 24-hrs have passed since taking this photo,
the next step will be to remove the brace and 
clean the grime off the guitar face.

Fingerboard


sanded entire fingerboard between frets 
with 600g sandpaper, twice, then 
scraped ever so gently the fingerboard, 
especially near the frets with a fresh razor blade. 
after that, i sanded the fingerboard again 
to remove any small nicks from using the razor blade 
with 400g and then finished it off with 600g. 
you can now dry-ice skate on this fingerboard! lol

[before]

[after]


the frets were stick out over the edge of the fingerboard,
so i filed them down (without taking meat off the top).
now it's comfortable to play.

after sanding the fingerboard, i used #0000 steel wool and
polished the frets. in doing so, it lightly smoothed them out
which was predominantly noticeable in the first 3 frets. 
you can't see your reflection in them, but they are shiney. :D 

you can also notice the fret differences in the previous two images.


Machine addressing


i tightened all of the tuner housings as they were 
loose and then tightened all of the tuner knobs as 
they were super wobbly.

Flimsy neck


i removed the neck after finding a video on
that the construction was like to
make sure what i was getting into
and it was, as you can see
in these two pictures, really simple! 

why did i remove it? it was really loose.
the neck end at the soundhole side was
lifting about 3/16 of an inch. :shock:
upon removing it,
i see they added a 22,000th of an inch riser. 

the "before" pictures


this picture isn't the best, but the top is covered in 
fingerprints and general grime. there is also a crack in
the top wood (top-right area [of this pic]) where the
wood had split with the grain and pulled away from the
sidewall. i'm am not sure how this occurred.

if you zoom in on this pic, you can see the fret-wear and
grimed up fingerboard.


The Wood

Taylor 306-GB Woods:

Back & Sides: 
Sapele [suh-pea-lea] (not mahogany like most people think at first site, but rather an african hardwood.)

Top: 
Sitka Spruce

Fingerboard: 
Ebony

there are more specs that obviously could be posted, but they aren't pertinent to this job. you can find the full list of specs on the website of musician's friend.

Who is Babe?

A.) Babe is a pseudonym for jimi's "Baby Taylor 306-GB" acoustic guitar.

it was in dire need of some restoration and general care. being about a decade old, noticeable wear was now visible and after talking shop and guitars one night, he determined that i had enough luthier experience to service babe, so this blog is to document that progress.

my experience consists of playing an acoustic/electric for just shy of 20-yrs, teaching myself lutherie work by working on my own guitar and as well, a live sound tech (small & large format) for about the same length of time, so i have a good ear for how things should sound. i would like to think i'm an intermediate level of a luthier, but the more i talk to people who really know this field, the more i think i'm a novice ... or maybe just a maintenance/service person. ;)